Happy Birthday! {red velvet cake}
It seems like just yesterday Jokes and Snacks was born. It’s hard to believe that one year and somewhere in the vicinity of 80 posts later, I find myself learning to crawl. Things have improved a bit since the beginning if you ask me. I’ve graduated from an iPhone to a shiny new digital camera and used this blog as an excuse to rediscover one of my passions – photography – while nurturing the other – cooking. I’ve learned a bit about blogging from a technical perspective but still haven’t delved into the world of html – perhaps this year. I bit the bullet and signed up for a Facebook account only after I realized I couldn’t just have a page for the blog and just last week created a dedicated Twitter account for J and S. So far so good.
The blog started out as a way to share recipes with my friends and family who I’m so grateful turn to me for cooking advice or direction. And that’s still what motivates me. I’m so excited every time someone mentions looking at the blog – let alone when they actually use it to produce something. I feel like I get to come into your home a cook dinner with you. For me, that’s the epitome of friendship, love and trust.
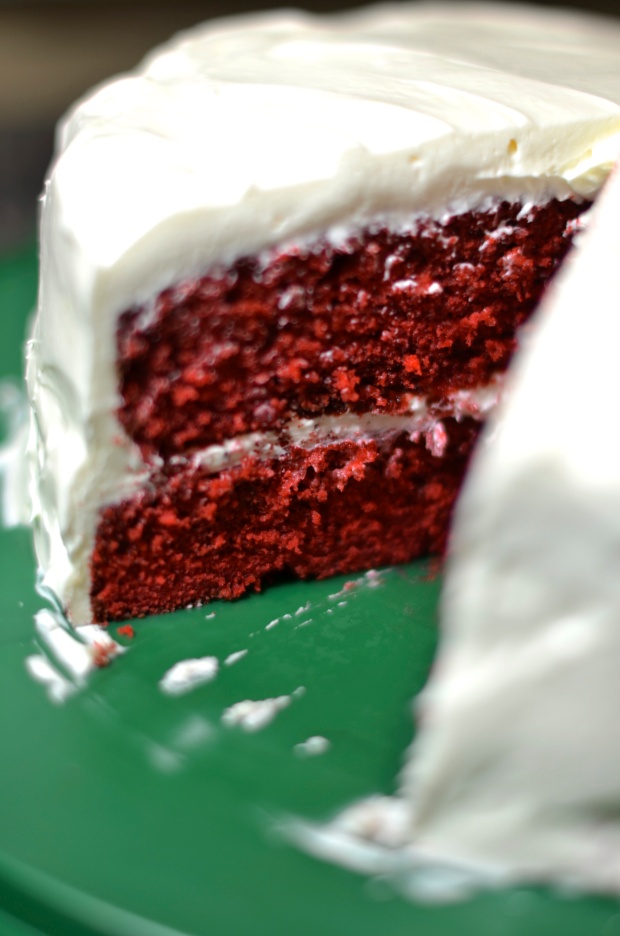
The most amazing byproduct of the blog, however, has been the chance to rediscover my family. Of course, my mother continues to serve as my cooking inspiration every day. I wouldn’t do any of this without having had her influence. But along the way, I feel as though I’ve also gotten to know my grandmother – my mom’s mom, Muffy. So many of the cake recipes on the blog come from her and honestly, I never knew she was such a great baker. So, to celebrate the blog’s big one year birthday, I decided to use another of Muffy’s recipes and make something I’ve never made before – red velvet cake. And just as I suspected, it was fantastic.
Here are the details:
- 1/2 cup butter (2 sticks)
- 1 1/2 cups sugar
- 2 eggs
- 1 teaspoon vanilla extract
- 2 heaping tablespoons cocoa
- 1/4 cup red food coloring
- 2 1/4 cups cake flour (sifted before measuring)
- 1 teaspoon salt
- 1 cup buttermilk
- 1 teaspoon baking soda
- 1 tablespoon white vinegar
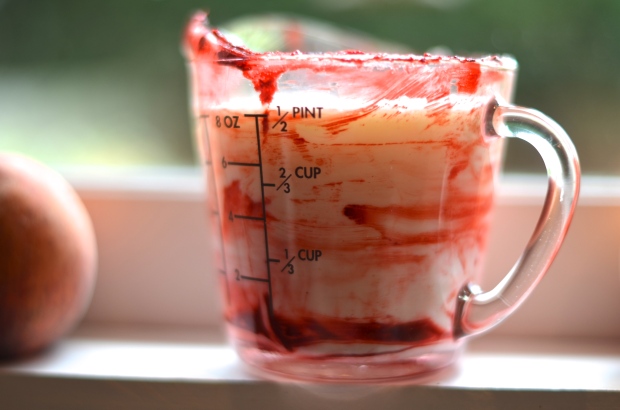
So, a few things to share before we get moving. First of all, the 1/4 cup food coloring that is called for is the equivalent of two of the bottles you can find at your local grocery store in the spice area. I didn’t realize that I needed that much until I got home with only one bottle and didn’t think it was worth it to go back to the store. As you will see, it turned out just fine, and pretty red if you ask me. I got the last drops of food coloring out by swirling my vanilla extract inside the food coloring bottle before adding it to the batter. Just like you would do to stretch your hand soap with water. Sort of.
The second thing is to not be afraid of putting vinegar in a cake. You have to trust Muffy and me. The cake doesn’t taste sour. In fact, somehow the vinegar seemed to even mitigate the buttermilk tang of the batter. I don’t know how but it did. And it made it super light and fluffy and moist.
Ok, onto the real deal. Preheat your oven to 350°F and go ahead and grease, flour and line your two 9″ cake pans with wax paper. We’re making a layer cake, people, and you don’t want to mess around. Set those aside and grab your hand or stand mixer. Cream the butter and sugar together until light and fluffy. Beat in eggs, one at the time, and add the vanilla. Sit tight.
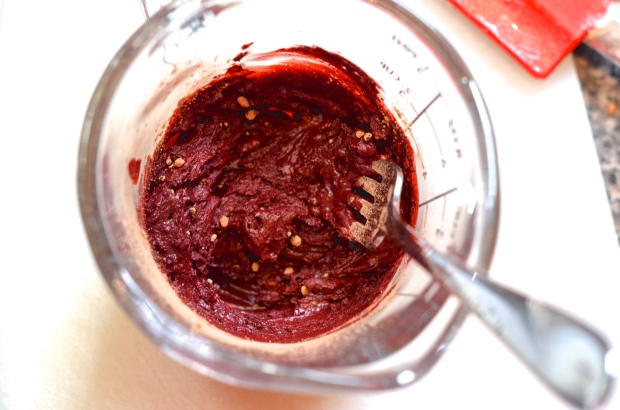
In a separate container (I used a measuring cup so I could reuse it and eke out as much of the food coloring as possible), stir together your cocoa powder and red food coloring. It took a minute for it to make a paste, but it did eventually.
Add the paste to the butter and sugar mixture and blend. Next we move to the buttermilk and flour. Sift and measure the flour into a separate bowl or onto wax paper so you can just fold it up and add to the batter easily. Add 1 cup of buttermilk to the cocoa and red-stained measuring cup.
Alternating between flour and buttermilk (beginning and ending with the dry ingredients), add to the butter/sugar/egg mixture until well combined. Your batter should now be looking cakey. Grab that same measuring cup and add the teaspoon of baking soda to the bottom. Because Mr. Wizard taught us about these things, you should know that there will be a reaction when you add the vinegar to the soda. So what I’m saying is – don’t do it in a shallow or small container. The Pyrex is plenty big. Fold the soda mixture into the batter by hand until everything is smooth.
Divide the batter evenly between the two cake pans.
Bake for 25-30 minutes until a toothpick inserted to the middle comes out clean and the edges of the cake begin to pull away from the sides of the pan a bit. Let them cool for a couple hours before we frost.
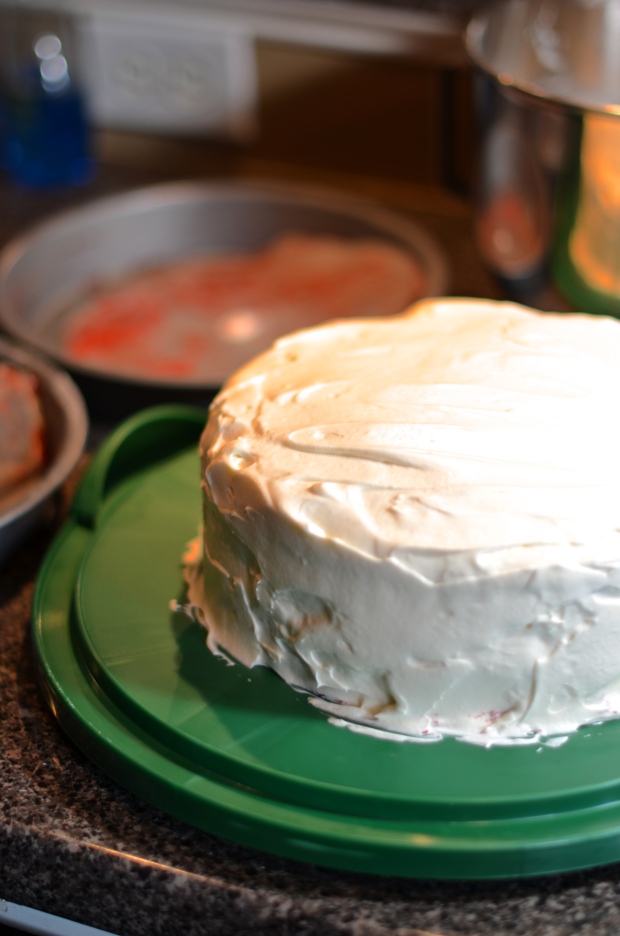
Once they’ve cooled, we can ice. Muffy’s recipe actually calls for a different frosting than the one I used, but I think that a traditional southern red velvet cake should have cream cheese frosting. So that’s what I did using the same recipe from here. Turn your first layer out onto a cake stand or your hideous green Tupperware cake container. Add about 1/3 of the icing and spread evenly on top of the first layer. Plop cake number two on top.
I need a real cake stand because that thing is exceptionally unattractive. Add the remaining icing to the top of the cake and spread from the middle out, over the sides. Using a knife or an offset spatula if you have one (I don’t, so a knife works just fine), work the icing around until you’re staring at a beautiful, creamy, white, fattening, stumpy little delicious cylinder.
It’s cake time. I popped the cake into the fridge for a couple hours before we ate it because a) our kitchen is hot and b) I always refrigerate cream cheese frosted things. If you can stand to wait, I recommend. If not, slice it up.
Happy birthday, Jokes and Snacks. Happy August, everyone else.


Yum! I love Red Velvet Cake! It is sinful! Wish I were there to help you celebrate your one year anniversary — and to help you get rid of that cake!
Your daughter and grandson helped me with a couple slices! Thanks for keeping up with the blog and commenting, Cissie. I always love hearing from you!
What was Muffy’s icing recipe? Being allergic to cream cheese icing, I would love to know her alternative! 😀
Hey there. It is the same cream cheese frosting. Not sure if you can have the other either (can you have milk? I can’t remember.). Anyhoo – here it is. I’ve never made it so I can’t vouch for it but I’d love to know how it turns out if you make it.
2 tablespoons flour
1 cup milk
1 cup butter
2 teaspoons vanilla
1 cup sugar
Verbatim:
Blend a little milk at a time to flour until no lumps. Cook over medium low heat, stirring constantly, until thick. Cream butter, sugar and vanilla until very light and thick and then beat into milk mixture 1 teaspoon at a time.
That sounds like it might take an entire afternoon but hopefully it’s worth it. Keep me posted!